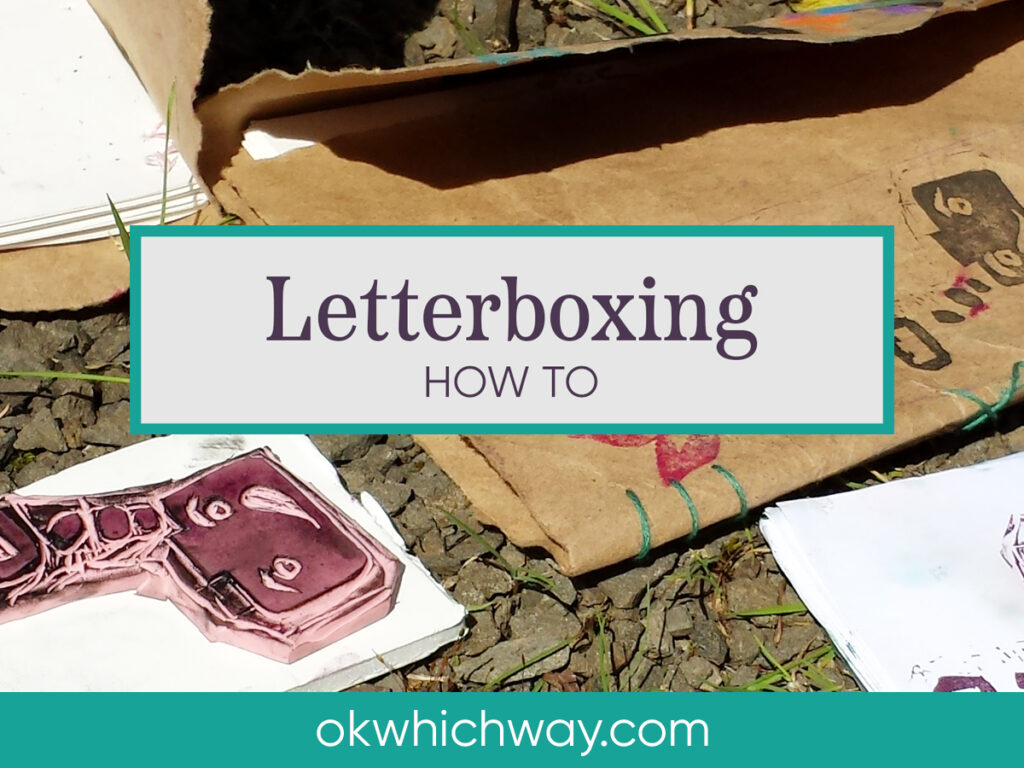
Letterboxing How To
Letterboxing is an outdoor treasure hunt similar to geocaching. In this case, the treasure is a container with a stamp and logbook.
This post may contain affiliate links. When you make a purchase using one of these affiliate links, we get paid a small commission at no extra cost to you.
It seems to primarily be a kids activity, however I think I enjoy it more than my kids. I love completing our task and admiring the stamps that are typically very well made.
As opposed to a GPS location like in geocaching, you get clues to the hidden container at Letterboxing.org, Atlas Quest, or the Clue Tracker for Letterboxing app. You follow the clues to a hidden container in a public place, such as a park. Once you find the container, you stamp their image in your log book, and stamp your image in their logbook.
It’s a fun activity to include in your outdoor adventures.
Things to Bring on your Letterboxing Adventure
- Your stamp – store bought or make your own
- Your log book – also store bought or make your own
- Stamp pad
- Pen
- The clue
Finding a Letterbox
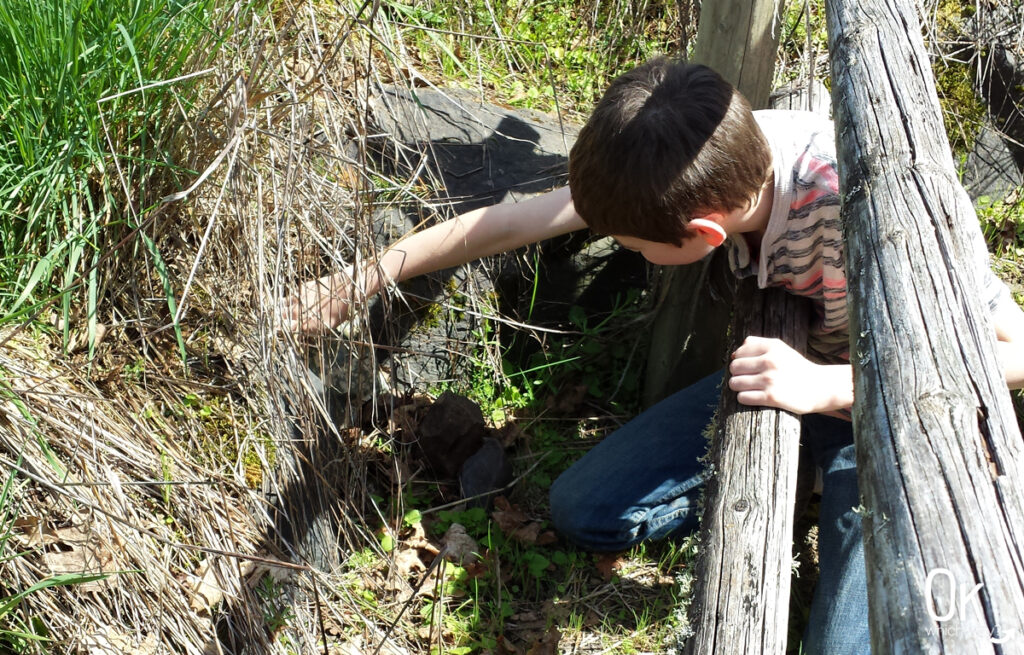
Sleuthing
When you’re ready to start your adventure, head to the nearest parking lot, grab your clue and supplies, then start searching. The clues will be in reference to items you see along the way.
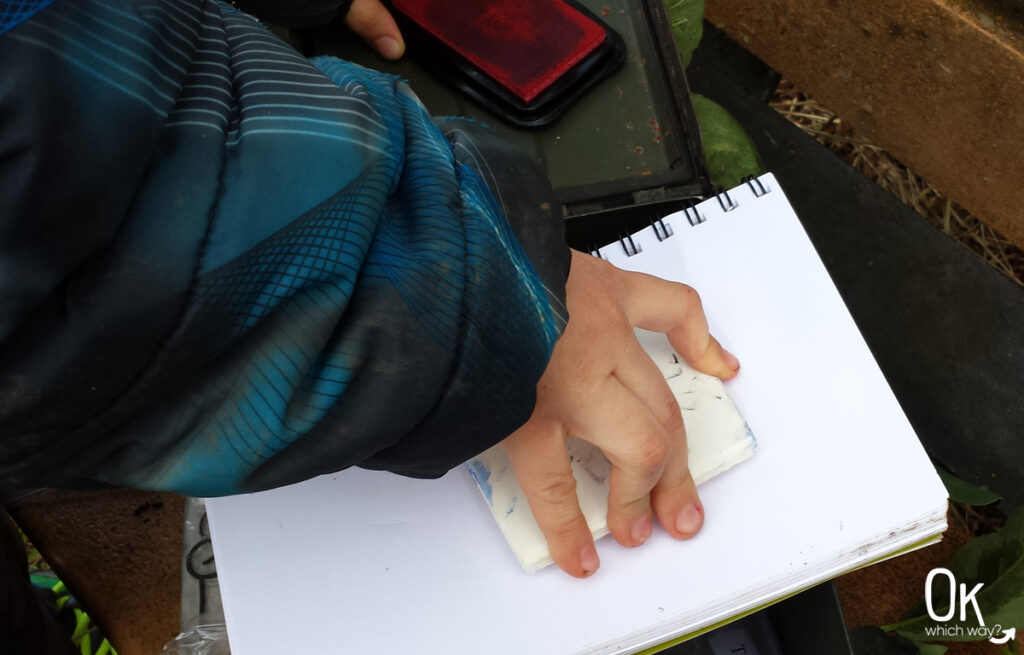
What to do when you find the container
Once you spot the container, do a little happy dance, and open it.
Inside the container will be a stamp, a log book, and possibly an ink pad. Use their image to stamp your log book. I also add the date and our location to our log book. Then, use your image to stamp in their log book, additionally including the date and your trail name.
Finding a Hitchhiker
A hitchhiker is an extra stamp in the container that will usually be labeled. It’s intended to travel from one letterbox location to another. If you find one feel free to take it with you to place in another letterbox within the next week or two. Try not to hang on to the hitchhiker for too long.
Returning the Container
After you stamp all the log books, place everything back in the container making sure the lid is on tight. Return the container where you found it, disguising it just a bit. Not everyone is aware the containers are for letterboxing and when found are sometimes taken.
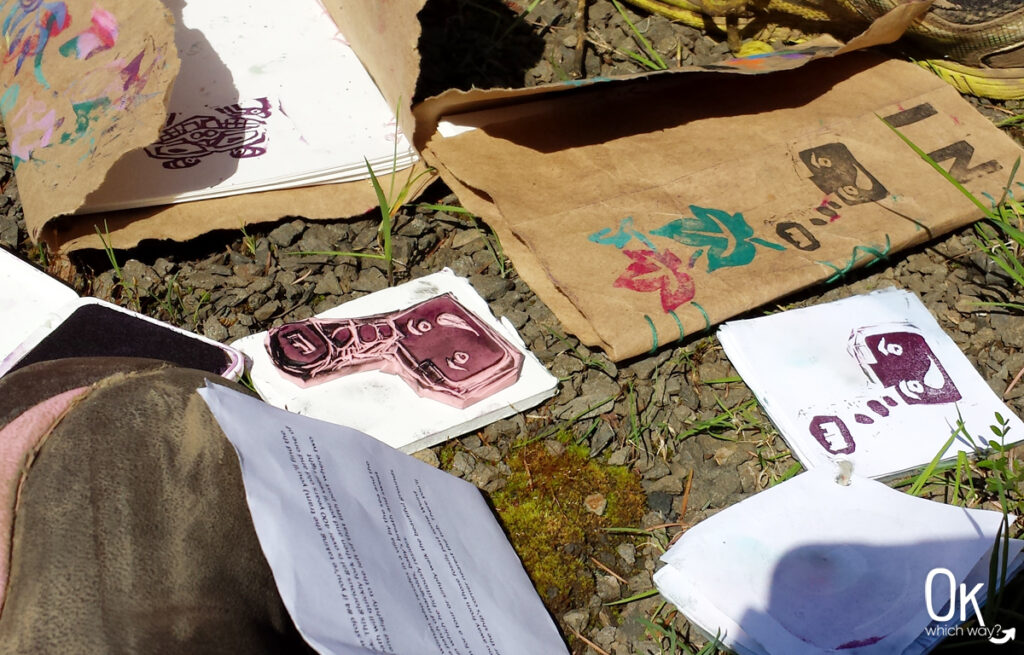
Making a Letterboxing Log Book
Not many supplies are needed for letterboxing, but you do need a log book. Purchasing a book is an option, however we chose to make our own using instructions from Layers of Learning.
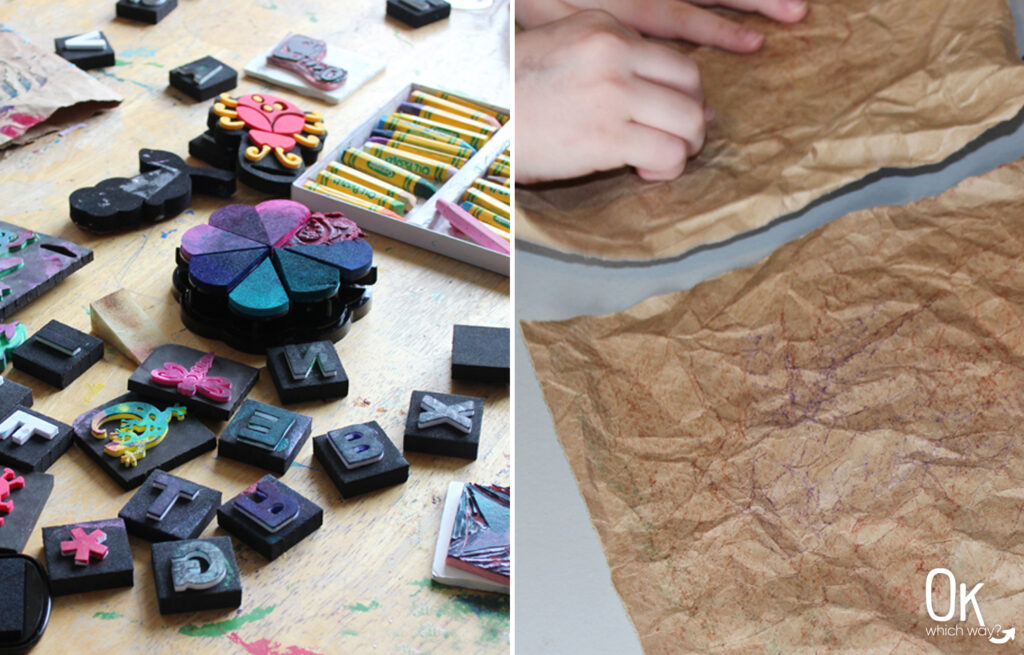
For the cover of the log book we cut a paper bag to size, crumpled it to give it an aged look, then decorated it using a variety of materials.
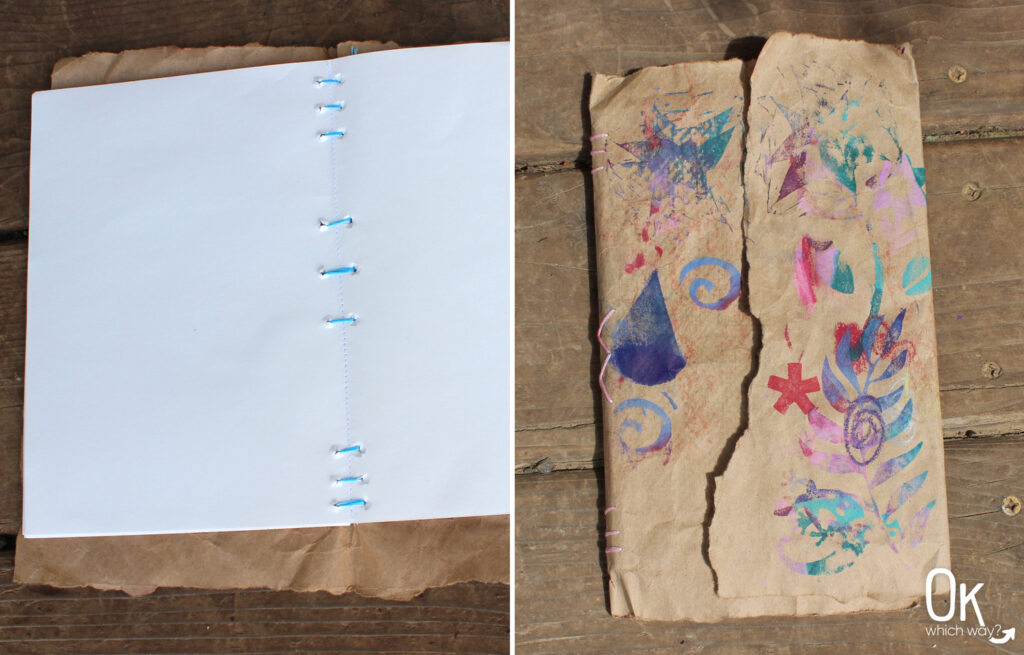
The inside pages were created from regular copy paper. Four sheets were folded in half, then using a sewing machine I sewed a line down the crease. I made four sets for each log book, using a total of 16 pieces of paper. Next, I needed to create holes in the paper to sew on the cover. I stacked the four sets of pages together then used a hammer and nail to punch holes through the stacked paper.
After lining it up, I attached the cover to the inside pages using embroidery thread and a needle.
Carving Stamps
There are only three items needed to create your own stamp: a carving tool, the material to carve, and a backing piece. Forever ago I bought a carving tool for a college art class. I’ve never used it since, but for some crazy reason I still have the tool. I ordered a carving block from Amazon. For the backing, I just used a piece of foam core I had laying around. You can also purchase wooden mounts.
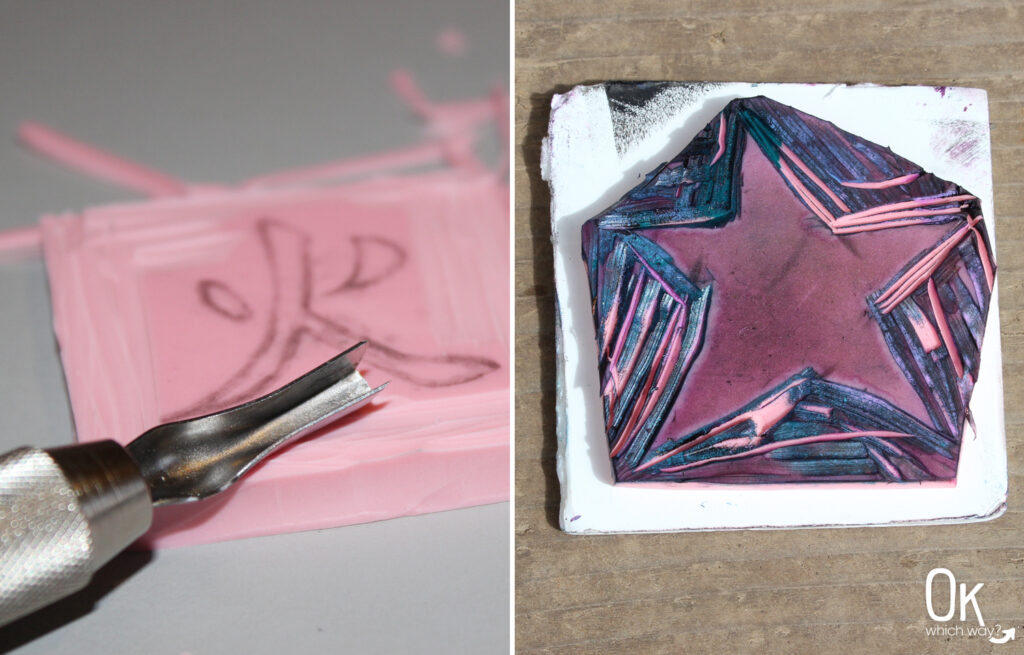
THE DESIGN
Use a pencil to draw your image on the rubber carving block. When creating the design, keep in mind the finished stamp needs to be a reverse of what you want the inked print to be.
CARVING THE STAMP
Using the carving tool, trim away pieces of the block outside your pencil line. The highest sections remaining on the block are what will print.
Be careful – the carving tips are sharp.
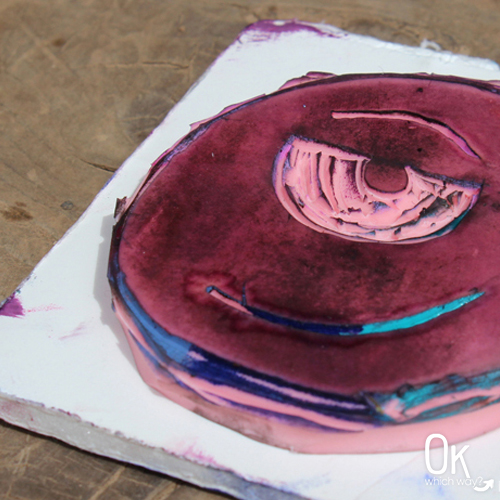
MOUNT THE STAMP
Once your design is carved, cut off the excess part of the block. This makes it less likely unwanted marks will be inked and printed. Finally, mount your stamp onto the backing piece.
Have you tried Letterboxing? What did you think?