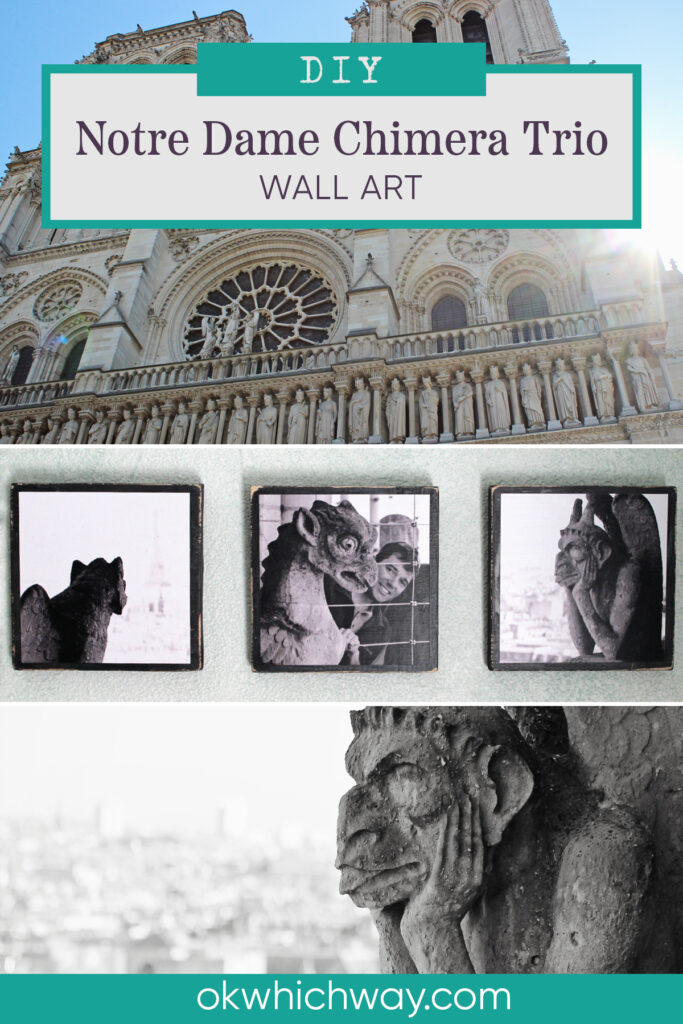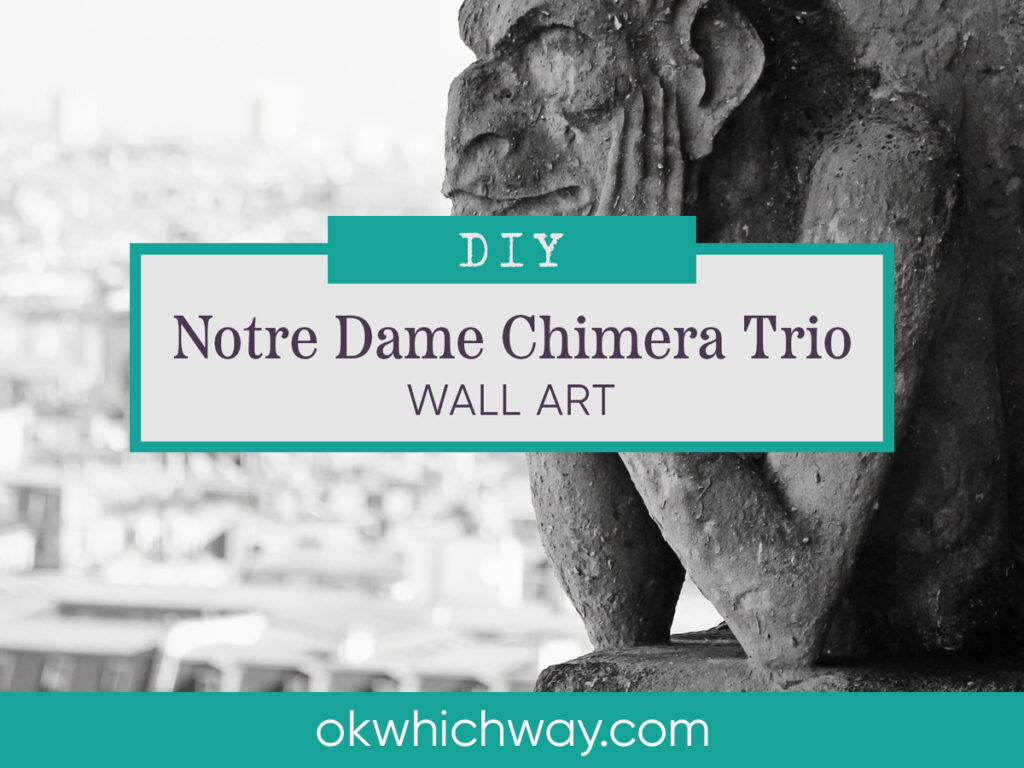
DIY Notre Dame Chimera Trio Wall Art
I love Notre Dame. It is breathtaking inside and out.
This post may contain affiliate links. When you make a purchase using one of these affiliate links, we get paid a small commission at no extra cost to you.
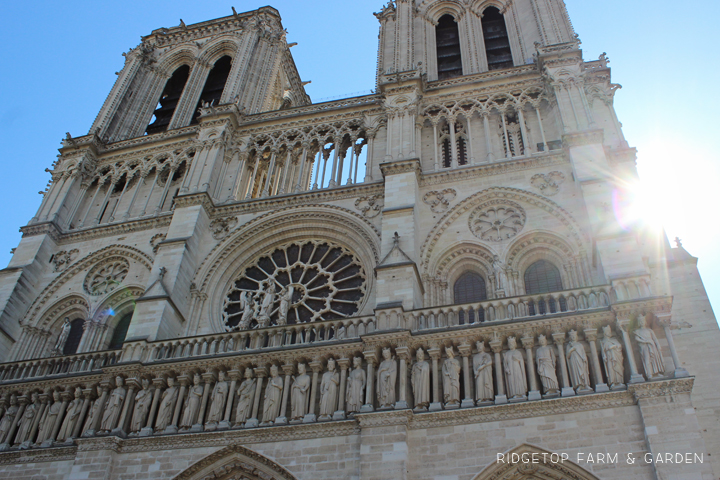
The first time John and I visited the cathedral we did a explored the main level. Years later, when we took the kids, we climbed the stairs to the top of the towers. We arrived early, but there was still a long wait. It was 100% worth the wait.
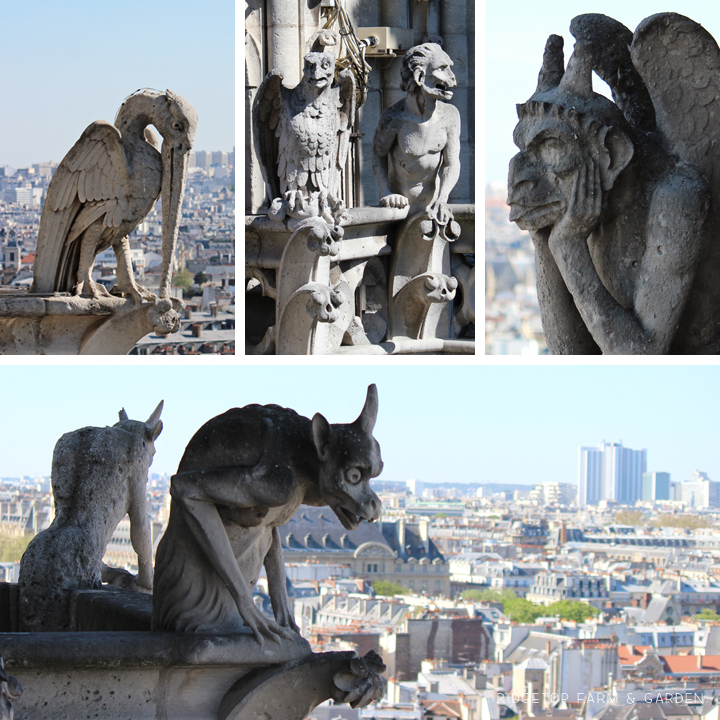
I enjoyed the entire experience – the enormous Emmanuel bell, the view, even the narrow spiral staircases. My favorite thing, though, was getting to see the chimera up close.
My favorite souvenirs are our photos. To commemorate this part of our trip, I turned three chimera photos into simple pieces of wall art.
Wall Art Supplies
- 3 Wood Squares
- Gray Acrylic Paint
- Paint Brush and/or Natural Sponge
- Coarse Sand Paper
- Mod Podge – I prefer matte
- 3 – black and white 5×7 Photos
GARGOYLE VS. CHIMERA
Sometime around this latest trip to Europe I learned the difference between a gargoyle and a chimera. The first 30 years of my life I used the word gargoyle to describe both. Very naive, I know.
GARGOYLE
Gargoyles are functional. They were built on the end of gutters to prevent rain water from dripping on the walls and eventually ruining buildings.

CHIMERA
Chimera are decoration. Weird, yet awesome, decoration. The ones on Notre Dame have a great view of the city.
The building of Notre Dame occurred and changed over hundreds of years and officially declared complete in 1345. The chimera were added during the 1800’s.
The guy in the upper right is Stryga, probably the most famous chimera.
HOW TO CREATE WALL ART FROM YOUR PHOTO MEMORIES
STEP 1: CUT OR PURCHASE 3 WOOD SQUARES
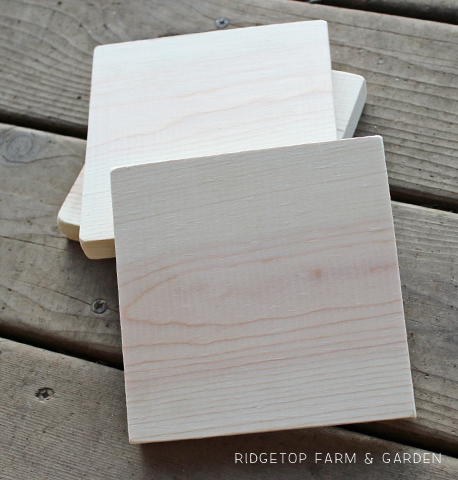
The first step is purchasing and cutting wood to your desired size. I bought a long pine board that was 5.5″ high at Home Depot. Then, used a table saw to cut 3 5.5″ squares. You can also find precut squares at a craft store.
STEP 2: PAINT THE BACKGROUND
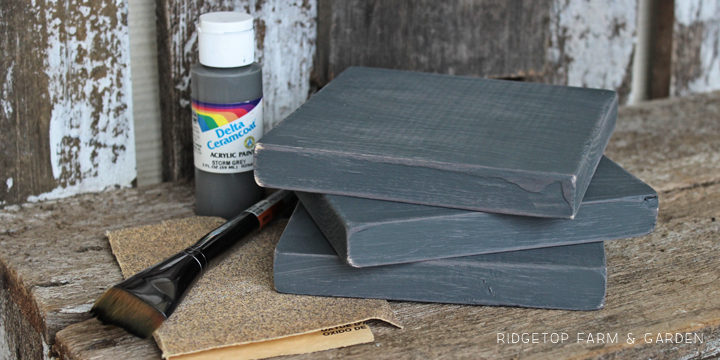
Using a medium gray color, I painted the three wooden squares. However, I rarely paint using just one color. These squares were no different.
After the main base coat dried, I used a variety of gray paints to add a bit of interest to the wood. Instead of a brush, I used a natural sponge to lightly apply the color.
STEP 3: ROUGH IT UP
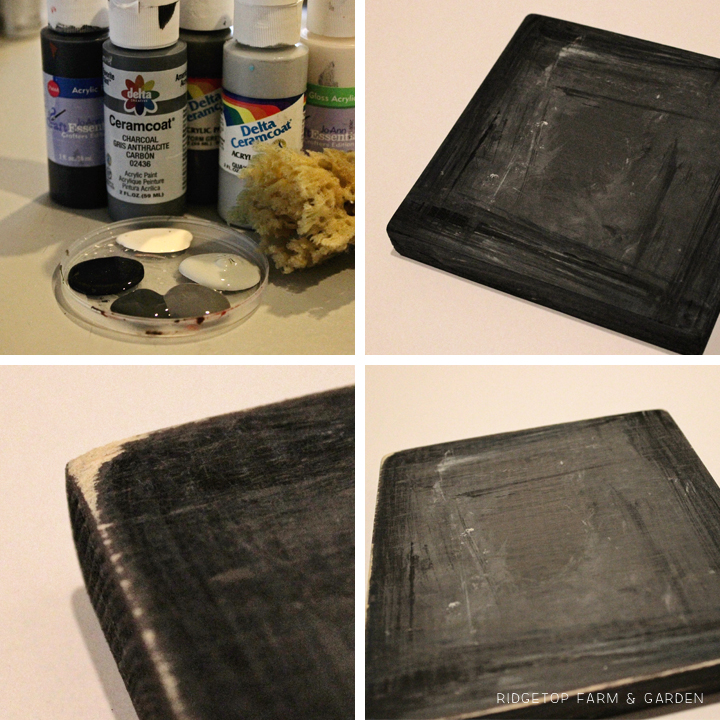
After the paint dries, use a piece of coarse sand paper to both smooth the surface and roughen the edges.
STEP 4: ADD THE PHOTOS
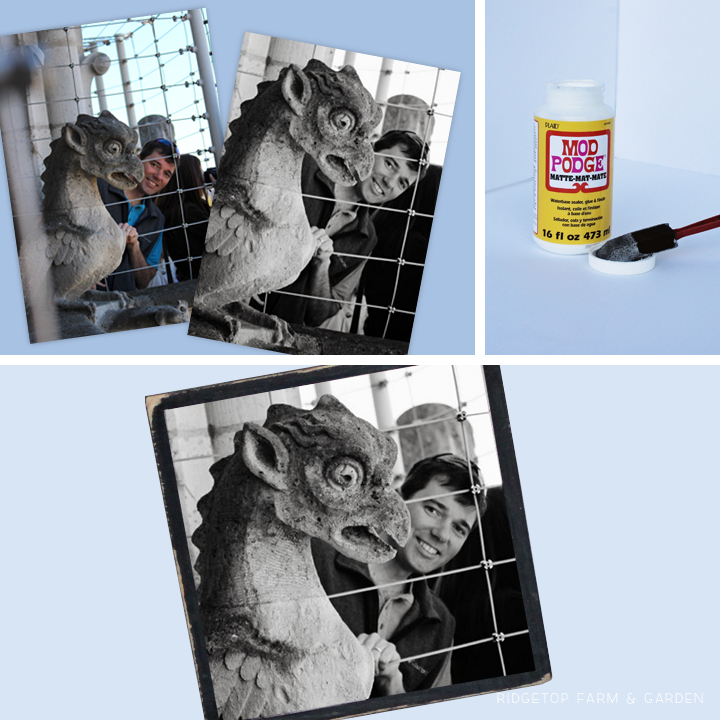
The original photos are in color. Using Photoshop, I changed them to black and white. Of course, you can also use Canva or any other photo app on your phone to manipulate the photo.
I cropped and printed the photos to a 5″x 7″ size. Then trimmed the photo to 5″ x 5″.
Using mod podge, I glued a 5″ x 5″ photo to each square.
STEP 5: HANG THE TRIO
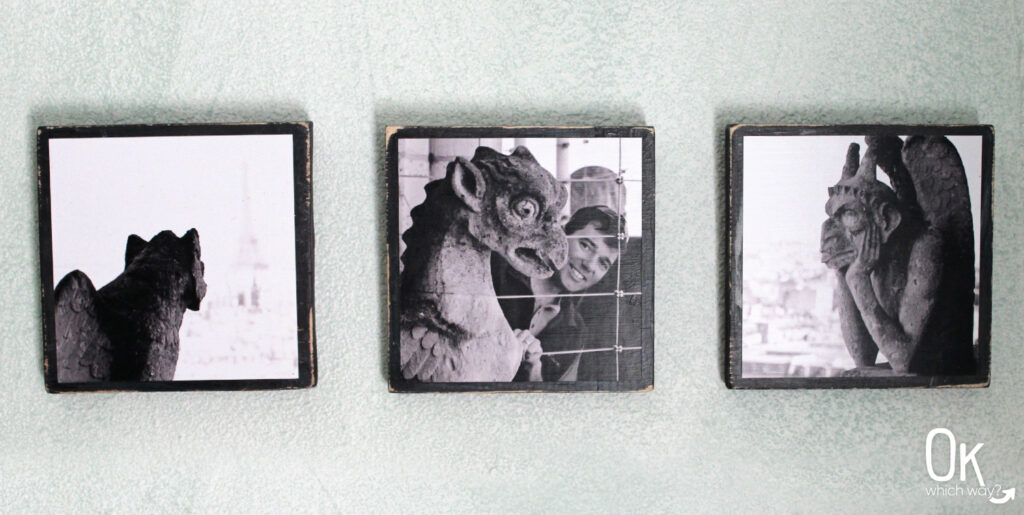
I chose to make three squares and place them in a row. It would also be a fun project to have four squares, and place them 2 x 2.
Anyone else think the chimera are as fascinating as I do?
Pin This to Create Your Own Photo Memories ⬇